Last updated on 2025-09-02
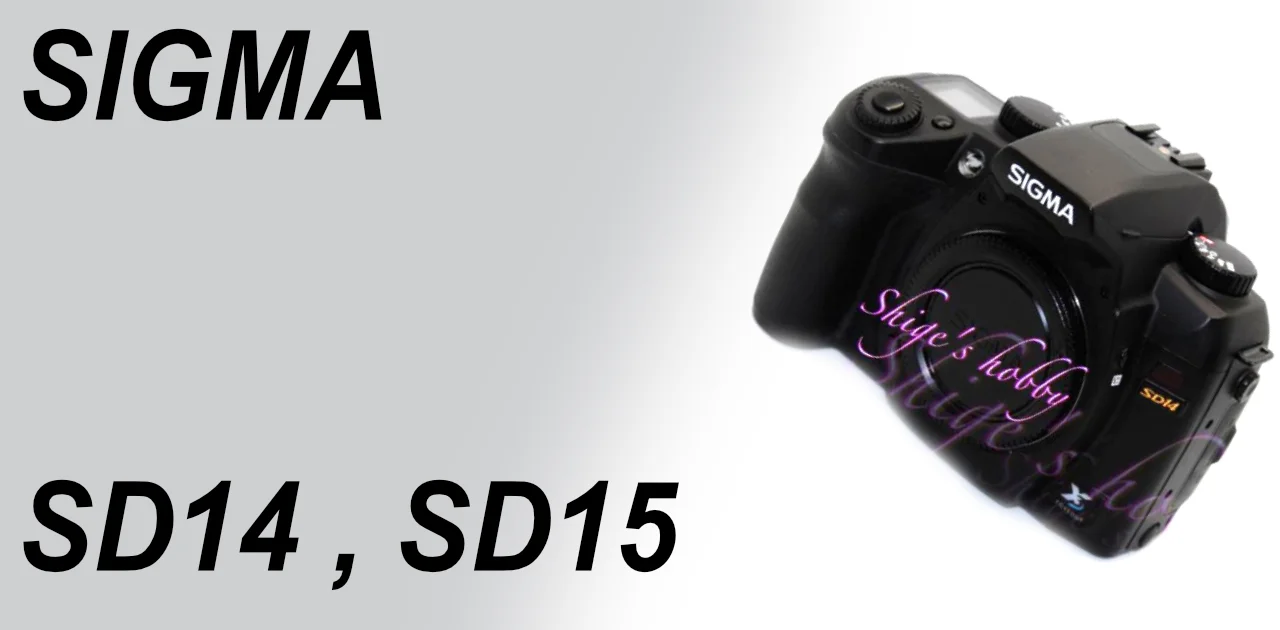
A review and photo examples of the Sigma SD14 and SD15 digital SLR cameras.
- Please see the disclaimer regarding advertising here.
- Italicized links in the text are advertisement links that take you to other sites.
Table of contents

Gallery
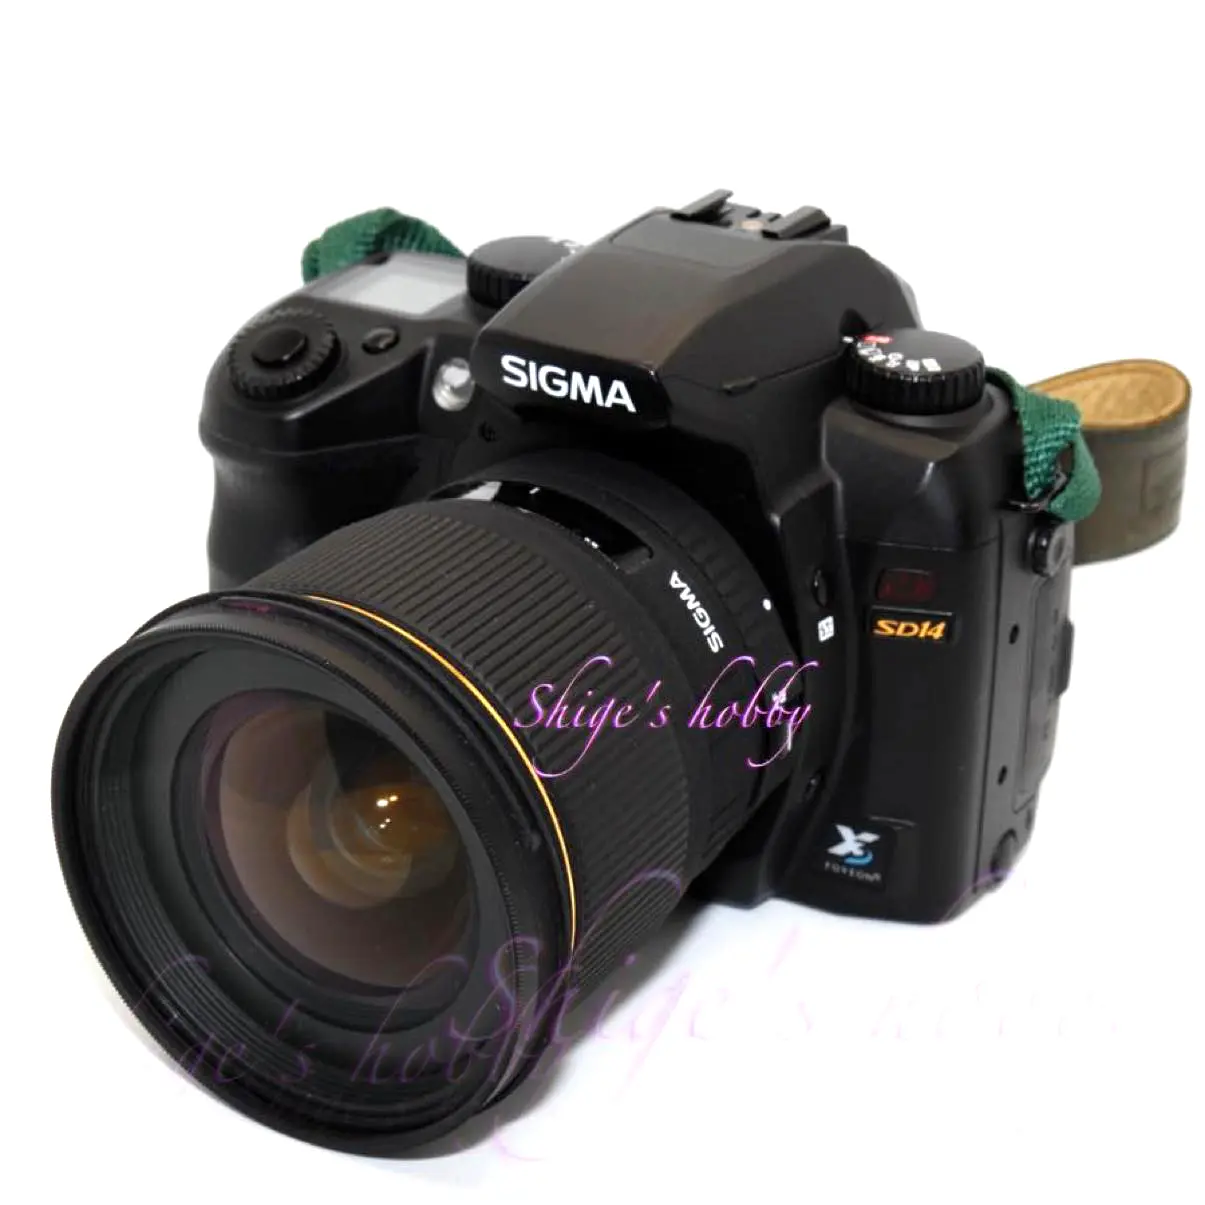
The following lenses were used for the sample images taken with the SIGMA SD14 and SIGMA SD15.
- SIGMA 18-50mm F2.8-4.5 DC OS HSM +SIGMA SD15
- SIGMA 150-600 EX DG +SIGMA SD15
- Voigtlander Ultron 40mm SL M42 +SIGMA SD15
- SIGMA Super-Wide II 24mm F2.8 +SIGMA SD14
- SIGMA 18-200 II DC OS HSM ZOOM +SIGMA SD14
- SIGMA 24mm Macro DG ASPHERICAL +SIGMA SD14
Review
1.Overview
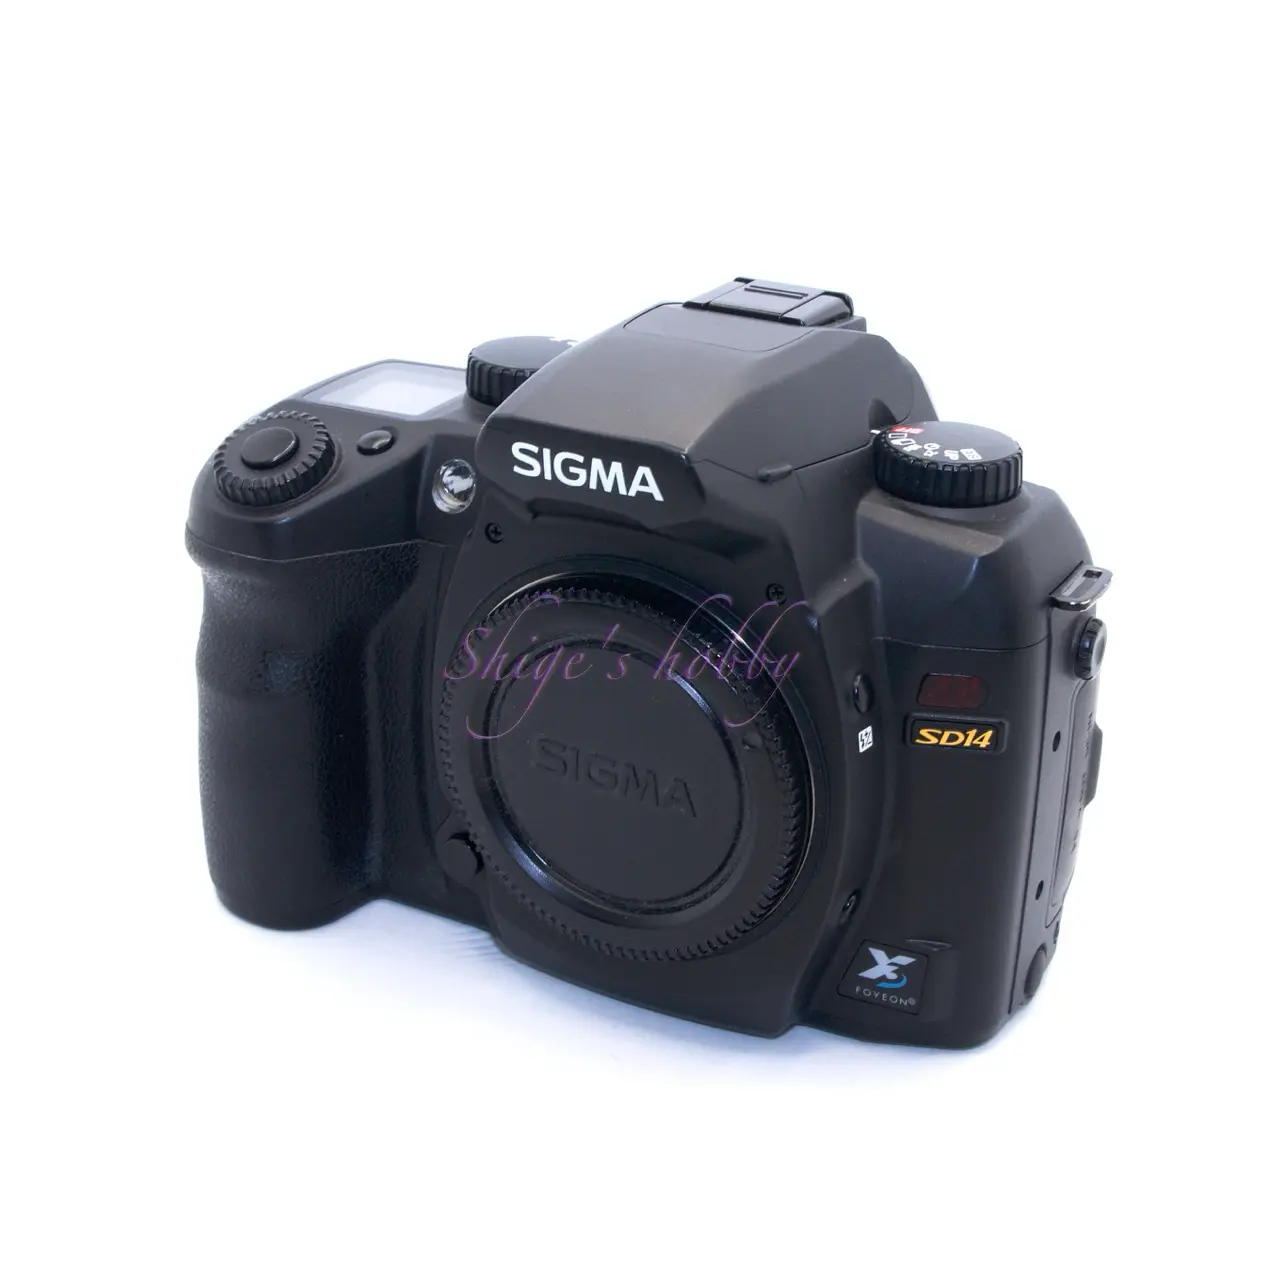
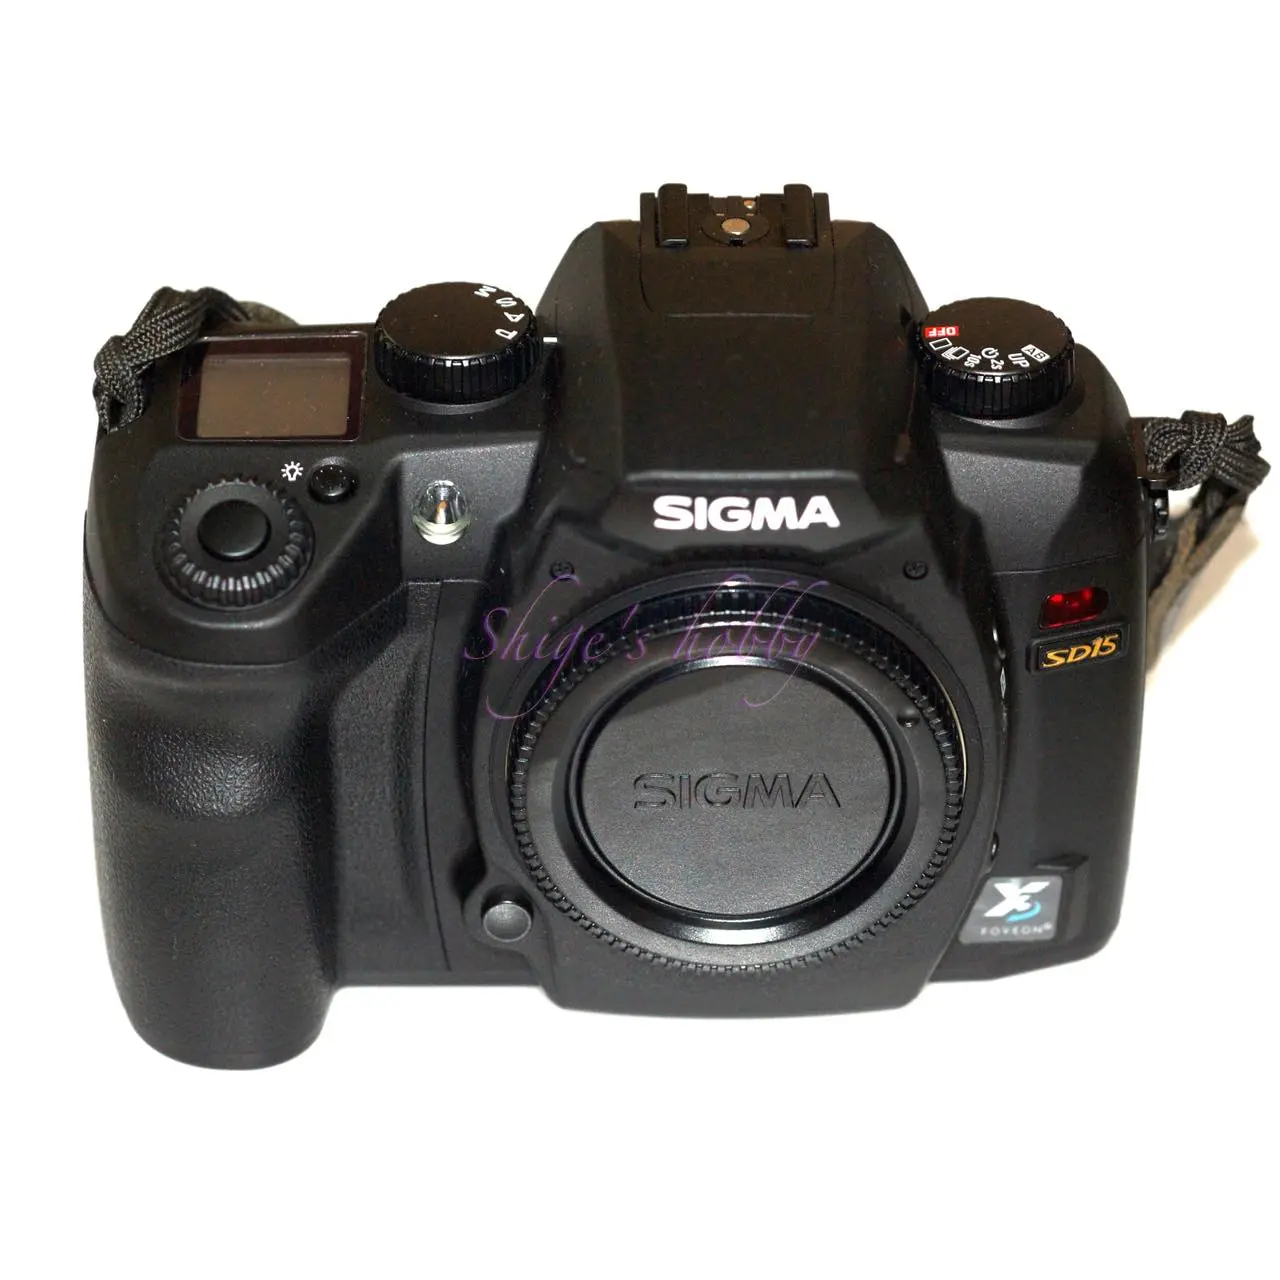
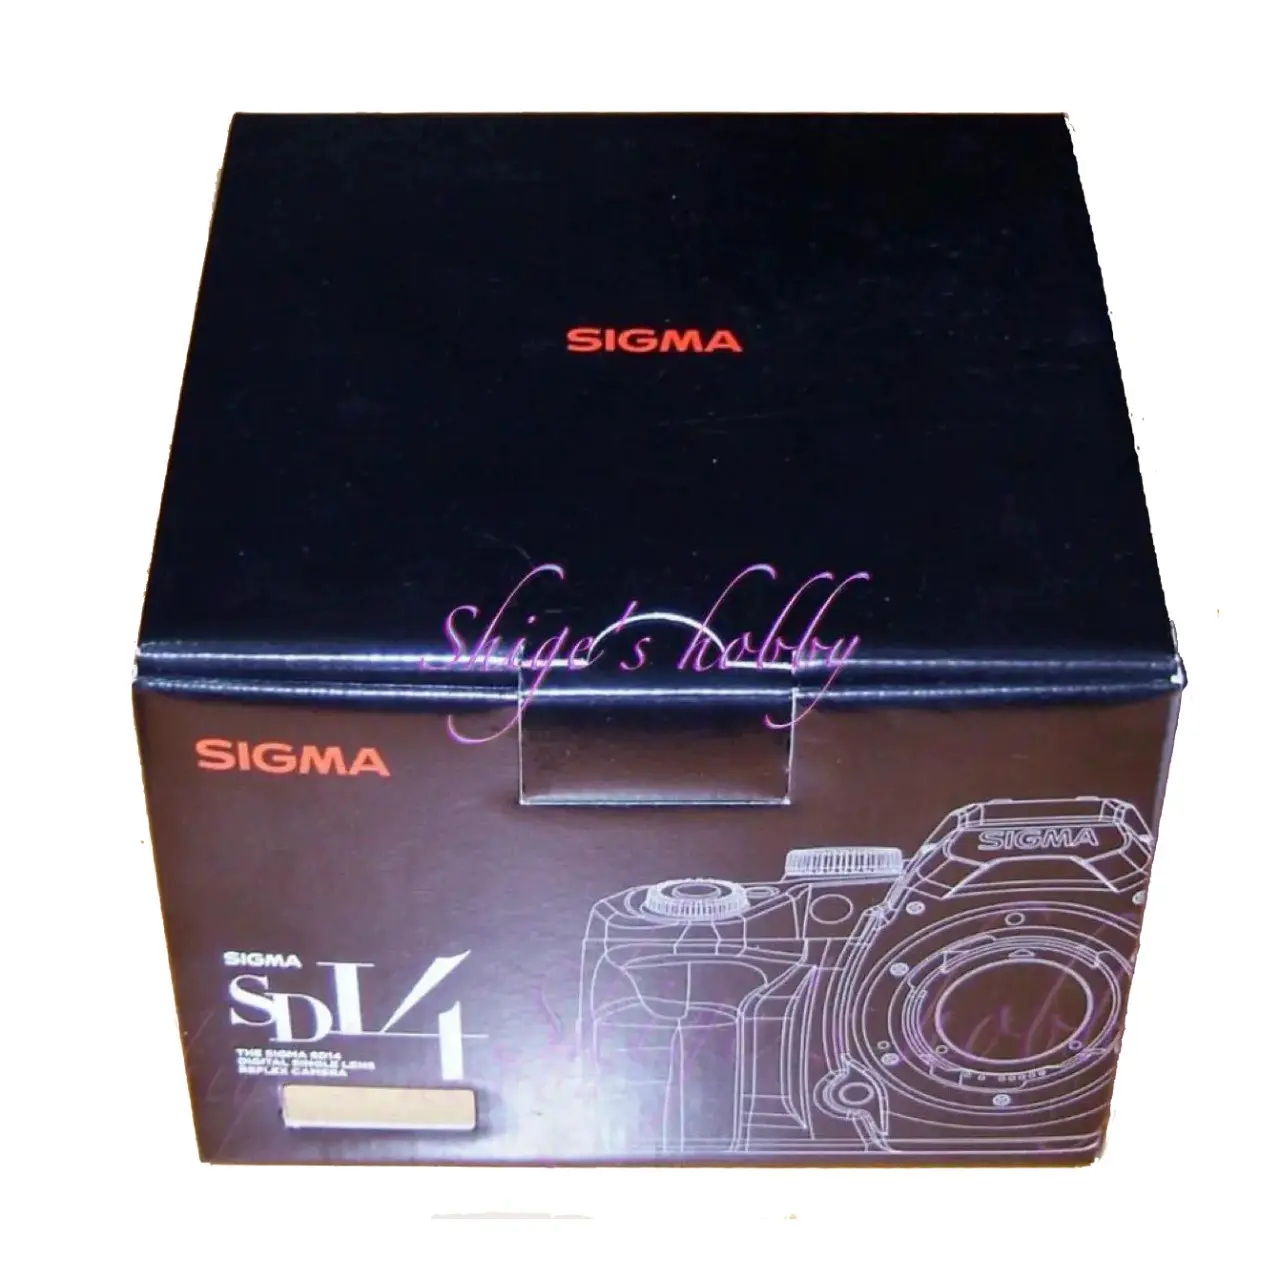
The SD14 was released in 2007, and the SD15 in 2010. These are Sigma digital cameras equipped with the second generation Foveon sensor.
The recording pixel count is 4.5 megapixels x 3, and the actual pixel count is 4.5 megapixels, but in JPEG recording and SIGMA PhotoPro, the pixels can be combined to output a higher pixel count. I don’t use this because it takes a long time to process and the image looks more processed than the original image.
Unlike the SD9 and 10, the SD14 and SD15 are completely new digital cameras developed from the body mold, and it seems that with the release of this camera, Sigma has gained some recognition as a digital camera manufacturer. Before that, it was a manufacturer whose cameras were only known to enthusiasts.
The differences between the SD14 and SD15 are the following four points, but please see the specifications for details.
- Recording media
- Rear LCD
- Camera data buffer size
- Image processing engine
One of the improvements of the SD15 is that the buffer memory capacity is twice that of the SD14 *1, which allows 21 frames to be taken even when shooting in RAW. I was photographing a hawk at Shirakaba Pass, and although it can’t compete with Canon or Nikon, I was happy that I could take a reasonable number of continuous shots.
*1: Source: Digital Camera Watch. 2010 article
The image processing engine is different, but although I didn’t do a strict comparison with the same subject, I didn’t feel any difference as long as I processed the RAW data with SIGMA PHOTO PRO (SPP).
When you attach a 16GB compact flash to the SD14, the shooting counter goes to 999, which makes you feel the era. The SD15 supports SDHC cards, so the maximum memory capacity is 32GB.
The battery can be used with the dedicated lithium-ion battery BP-21, or the BP-22 introduced with the SD1. The difference between the two is the battery capacity, with the BP-21 being 7.4V-1500mAh and the BP-22 being 7.4V-1200mAh. Many of these batteries are compatible in shape, such as the Konica Minolta NP-400 (7.4V-1500mAh) and Pentax D-LI50 (7.4V-1620mAh), which have the same shape and voltage. The Sigma BP-22 has the smallest battery capacity. A Chinese-made compatible battery is listed as 7.4V-2300mAh, but it is unclear whether it actually has that capacity.
2.Usability
The SD14 was released four years after the SD10, when the EPSON R-D1 had become my favorite camera, and I hardly used the SD10, sold it at some point, got rid of the lenses, and was estranged from Sigma.
The SD14 was released during the height of digital cameras, and in 2006 the LEICA M8 was released, so my photography life revolved around the Leica M mount.
Still, Sigma was in the back of my mind, so I bought the SD14 when it was released and tried it out. Fortunately, it was the time when the hawks migrated to Shirakaba Pass, which is when a single-lens reflex camera is needed. However, after using it for about three days, I hardly used it when I returned to my normal life, so I sold it while it was still valuable.
Looking at the photos I took at that time, the images taken with the SD10 have a sense of resolution, but I didn’t feel the uniqueness of the colors and contrast like the R-D1 or the Leica M8. It is a good thing that the camera itself has become a very ordinary camera, but as someone who was used to the SD9 and SD10, which had too many quirks, I didn’t understand the motivation to record everyday scenery with this camera. Also, with the PC specifications at the time, the processing of SIGMA PHOTO PRO (SPP) was slow and unstable, so I was not motivated to seriously process images with SPP. I sometimes wish the SD15 had come out at the same time as the SD14, but unfortunately Sigma’s progress was a little slow.
I also bought the SD15 for the “Hawk Crossing” at Shirakaba Pass in the year it was released, but I used it extensively there and took some photos around town before selling it. So the SD15 wasn’t a camera I used very much.
My main camera at the time was Sony’s last pure SLR camera, the α900, so one of the reasons I didn’t use the SD15 much was that the camera’s completeness, including the viewfinder and mechanism, was overwhelmingly inferior to the α900.
While writing this, I happened to search for used ones, and found that the SD14 was being sold for just under 30,000 yen. I didn’t have any SIGMA-SA mount lenses, so I ordered the 24mm F1.8 HSM and the SD14 for just under 50,000 yen in total on mail order. I know very well that nostalgia doesn’t trump practicality, but sorting through my old photos made me feel like I wanted to try using the SD14/SD15.
I used the SD14 for the first time in a while, and the shutter sound is pleasant, and I feel that it is sufficient for street photography that does not require continuous shooting. However, I still feel that the viewfinder is problematic. First of all, because the viewfinder is almost 100% of the sensor size, it feels very small when you look through it. Someone once said that it was like looking into the bottom of a well, which is very apt.
I actually prefer the sports viewfinder of the SD10. Also, it is difficult to see the focus peak when using a wide-angle lens, which has not changed since the SD10, and this is probably because the matte is flat and has few undulations for AF.
Also, if the AF of the SD14 is high-performance, it would not be a problem, but the AF of the SD14 becomes suspicious when the amount of light around the edges becomes insufficient. The camera displays a focus mark in the viewfinder, but if you believe it and release the shutter, you may end up with a photo that is out of focus.
3.Summary
To sum up, the SD14 is a complete camera among Sigma’s SLR cameras, with a pleasant shutter sound and good shooting tempo, and is a world apart from the older model SD10. However, it is an entry-level camera in the SLR camera line of major manufacturers.
With high-powered PCs in the 2020s, it is easy to develop X3F images, and as an entry-level FOVEON camera, it is not a bad choice if you can buy it for about 20,000 yen used, but it is not worth spending 50,000 yen to buy it.
Raw is a must for image recording mode, and you can see the true value of this camera by shooting in Raw and developing it. Don’t expect JPG images.
The only major difference between the SD15 and SD14 is that the recording media is SD card, so if you are looking for a used camera, we recommend the cheaper SD14.
- Cleaning the viewfinder and replacing the screen
- The dust protector was cracked
- About X3F files
- if Foveon
・Additional information: Viewfinder cleaning and screen replacement
Please clean the viewfinder and replace the screen at your own risk.
Below I’ve recorded what I did when I tried to clean the dust off the viewfinder screen, but when I removed the screen it was quite different from other cameras. These are personal records so they may be inaccurate.
When cleaning the viewfinder, be careful not to do so in a clean room, as you’ll only end up with more dust.
As official support from Sigma has also ended, I have not confirmed whether they will clean the viewfinder if asked.
The viewfinder screen is made up of four parts.
- Focus screen retaining frame
- Focus screen (notch shifted to the right or left)
- “U” or “C” shaped shim
- Screen with AF index engraved (notch in the center).
The first thing to access is 1. “Focus screen holding frame”.
This part is only hooked, so if you hold the camera in the correct position so that the manufacturer’s logo can be read and release the hook of the holding frame, 2, 3, and 4, which are fixed in place, will fall onto the mirror.
Therefore, the work is to flip the camera over, release the hook of the holding frame, and remove the entire holding frame. This maintains the position of the parts 2, 3, and 4.
When replacing the screen, remove the screen 2 in this state and insert a new screen.
Without moving anything else, attach the holding frame, return the hook, and fix it in place.
This holding frame is prone to distortion, so if it does not click into place when installed, remove the distortion and try again. Since the only thing that holds the focus screen in place is the holding frame, if it is not installed correctly, 2, 3, and 4 will fly off inside the camera due to the wind pressure generated by the mirror when the shutter is released, so it is important to fix the holding frame in place.
When cleaning the viewfinder, remove and clean 2. focus screen, 3. shim, and 4. screen with AF index engraved on it. As mentioned above, 2, 3, and 4 are not fixed, but are just placed there, so if you blow with a blower on 2, 3, and 4 with the retaining frame removed, 2, 3, and 4 will fly off.
This may be a problem with my camera, but the “U” or “C” shaped shim did not come off when I first worked on it, but it came off when I disassembled it for the third time.
When I replaced the screen on the LEICA R8, the retaining frame for the focus screen was attached to the camera, and when the notch of the retaining frame was removed with the camera in the upright position, the focus screen came down while still attached to the frame, so it was easy to replace the focus screen.
At first, I thought the same would happen with the SD14, so I removed the notch of the screen with the camera in the upright position, and I panicked when the parts fell apart. Moreover, the U-shaped shim did not fall off.
・Additional information: The dust protector was cracked.
The dust protector for the SD14 and SD15 has glass with a mysterious coating, but when I attached the dust protector to the camera, I broke the glass and damaged it.
I asked Sigma Support if they had spare parts in 2024, and they said that support had already ended and there were no parts. Camera manufacturers used to keep spare parts in stock for long periods of time, but they try to keep them as small as possible due to accounting factors such as labor wages for inventory management and taxes on assets.
I can understand why manufacturers don’t want to keep stock of parts from the past, but if that’s the case, I wish they would make the recipe for replacement parts public. The broken glass seems to be an IR-cut filter, but it’s too much trouble to look up the ingredients that cut it yourself.
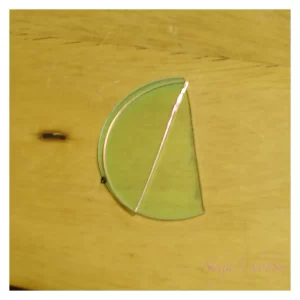
So I did a test to see the effect of the dust protector, and the results were as follows, taken without a dust filter and with the dust protector attached with the broken glass removed.
- When the dust filter was removed, the colors of the images became abnormal.
- When the dust filter without the glass was attached, the colors were recorded normally.
Judging from these results, the dust protector is a switch for correcting the colors of the recorded image, and proper colors will not be obtained unless the dust filter is attached to the camera. Even if the glass is broken, the protector frame should be preserved.
I have not been able to verify the glass of the dust protector itself, but it should be a filter for cutting out specific wavelengths, and depending on the lighting conditions, the colors will not be too strange even without the glass. If strange colors occur, I plan to try an IR filter.
・Additional information: X3F files
X3F files store information on the three colors R, G, and B for each pixel, so the amount of data is three times that of a normal Bayer sensor.
I have been using SIGMA PHOTO PRO (hereinafter referred to as SPP), which processes X3F, since the SD9 era, but I complained that it was unstable and slow. However, when I used it on a Mac mini equipped with an M2 Pro in 2024, I hardly saw any accidental crashes of SPP, and I realized that the image processing speed had reached a practically sufficient speed. It was an event that made me feel the benefit of the improved processing speed due to the increased CPU power of the PC.
I also tried using a freeware utility software that converts X3F to DNG, but in the version I used, it was difficult to achieve the same quality as SPP unless the image after DNG conversion was processed quite a bit, and I had the impression that it was difficult to master. It is unclear whether it has been improved since then.
If the image after DNG conversion can be obtained as equivalent to the SPP default, the ideal workflow for users who are accustomed to other software would be to fine-tune it with other software, but it was not so easy. The conversion software is freeware created by an individual, so users have no right to complain.
I found out that the image can be developed using the image processing software Affinity Photo, so I tested it on this page. I know that I have to study the adjustment method carefully to get the same results as SPP, but since SPP can output adjusted images without stress, I haven’t pursued it too deeply. I think that the better workflow for now is to output JPGs using SPP and then make final adjustments using Affinity Photo.
As of 2024, development of a new Foveon sensor seems to have stalled. I am curious to see if I will come across new X3F data in the future.
・Additional information: if Foveon.
As I was looking through the viewfinder of the SD14, a thought suddenly occurred to me. I feel like I’ve had a similar impression with this viewfinder on another camera. After digging through my memories of using cameras, I realized that it was similar to the viewfinder of the Olympus E-1 Four Thirds camera.
So I looked into digital cameras released in 2007, the year the Sigma SD14 was released, and found that the Olympus E-3 Four Thirds mount camera had been released.
Using this comparison to research image sensors, I found that the size of the Foveon sensor mounted on the SD14 is 20.7 x 13.8 mm (area: 285.7 mm2), while the size of the Four Thirds sensor is 17.2 mm x 13 mm (area: 223.6 mm2).
The difference between the two is that the Foveon sensor is about 3 mm larger in the width direction, but is almost the same in the height direction. With this size difference, wouldn’t it be physically possible to mount a Foveon sensor on a Four Thirds body? However, since the Four Thirds sensor is smaller, it would be possible to crop the sensor if the sensor size is to be matched.
Calculating the number of pixels when cropped, if the 4.5 megapixel x 3 second generation Foveon is cropped to the size of a Four Thirds sensor, it will be 3.52 megapixel x 3.
The E-3’s Four Thirds sensor is a 10 megapixel Bayer array, and the Foveon is a three-layer sensor, so it would be possible to advertise it as having 10 megapixels.
It may be a sophistry, but I think it is enough to compete in the marketing arena. If there was room in the image circle of the lens, it would have been interesting to use the 4.5 megapixel x 3 sensor as it is without cropping.
In this way, if Olympus had received sensors from Sigma and released two types of cameras, the E-3 with the conventional Bayer sensor and the E-3F with the Foveon sensor, the history of digital cameras might have been slightly different. Unfortunately, no such event occurred, but it is interesting to imagine what might have happened in history.
Specification and Compare
| Items | SD9 | SD10 | SD14 | SD15 |
| Camera Effective Pixels | 10.29 million pixels (2,268 x 1,512 x 3 layers) | ← | 14.06 million pixels (2,652 x 1,768 x 3 layers) | ← |
| Camera mount | SIGMA-SA baynet mount | ← | ← | ← |
| Image sensor | FOVEON X3®(CMOS) 20.7×13.8mm | ← | ← | ← |
| Back LCD | 1.8-inch Low-temperature polysilicon TFT color LCD monitor 130,000 pixels | ← | 2.5-inch 150,000 pixels | 3-inch 460,000 pixels |
| View Finder | Pentaprism type single-lens reflex viewfinder | ← | ← | ← |
| Battery | Main 2 x 3V lithium batteries (CR-V3) 4 x AA Nickel-Metal Hydride Batteries 4 AA nickel batteries Sub 3V lithium battery (CR123A type 2 pcs.) | 2 x 3V lithium batteries (CR-V3) 4 x AA Nickel-Metal Hydride Batteries 4 AA nickel batteries | Lithium-ion battery (BP-21/BP-22) | ← |
| Record Media | Compact flash Micro drive | ← | Compact flash | SD-card(SDHC) |
| Size(mm) W x H x D | 152 × 120 × 79 | ← | 144 × 107 × 81 | ← |
| Weight(g) | 805g (Ext battery) | 785g (Ext battery) | 700g (Ext battery) | 680g (Ext battery) |
| Release date | Year 2002 | Year 2003 | Sep.2007 | Jun.2010 |
Options
- Vertical grip・PG-21
- All Sigma SA mount lenses
Reference links
- Live action report of SD14 by Digital Camera-Watch
- New product review of SD15 by Digital Camera-Watch
- Dpreview article on cleaning the SD14 sensor
Update
- 2024.8.14
- 2024.02.12:Update
- 2023.02.12:First draft
Affiliate Link
- Some external links are advertisements and clicking them may generate income for the site administrator.
- Sigma(Amazon Affiliate link)
- Sigma lens(Amazon Affiliate link)
- Sigma books(Amazon Affiliate link)
Be First to Comment